
A cinematic fashion film starts with a clear mood and a reason for the clothes, model, setting and camera to move together. Build a short treatment, choose a few repeatable actions, light for both fabric and skin, and capture wide, medium and detail shots. Plan the final formats before the shoot so the edit has the coverage it needs.
1. Describe the film in one sentence.
Before choosing a lens or location, decide what the audience should feel. A film about quiet confidence will ask for different performance, pacing and framing from one about restless energy. Write a simple sentence that joins the clothing to that feeling. Use it to judge whether each styling, lighting and movement choice belongs in the same film.
Build a compact reference board around colour, texture, gesture and space. Explain what you are taking from each reference rather than asking the team to reproduce the whole image. A photograph might help describe the shadow you want; another might suggest how a sleeve moves. The treatment should make those decisions understandable to everyone on set.
2. Work backwards from the deliverables.
List the finished pieces before writing the shot list. A website hero, a short campaign film and a vertical social edit may need different opening frames and crops. Decide which outfits and details each piece must show. Agree where titles, logos or a closing message will sit so those elements do not compete with the garment later.
A practical starting plan is one complete sequence per look, with a few connecting shots shared across the film. Reserve time for a clean opening image and a deliberate ending. If the schedule becomes tight, this structure makes it easier to protect the essential footage instead of collecting fragments that never quite form a scene.
- Write the destination and intended orientation of each final film.
- Name the outfits and product details that must be visible.
- Plan an opening, a complete action and an ending for each look.
- Record which shots can support more than one deliverable.
3. Give every shot a different job.
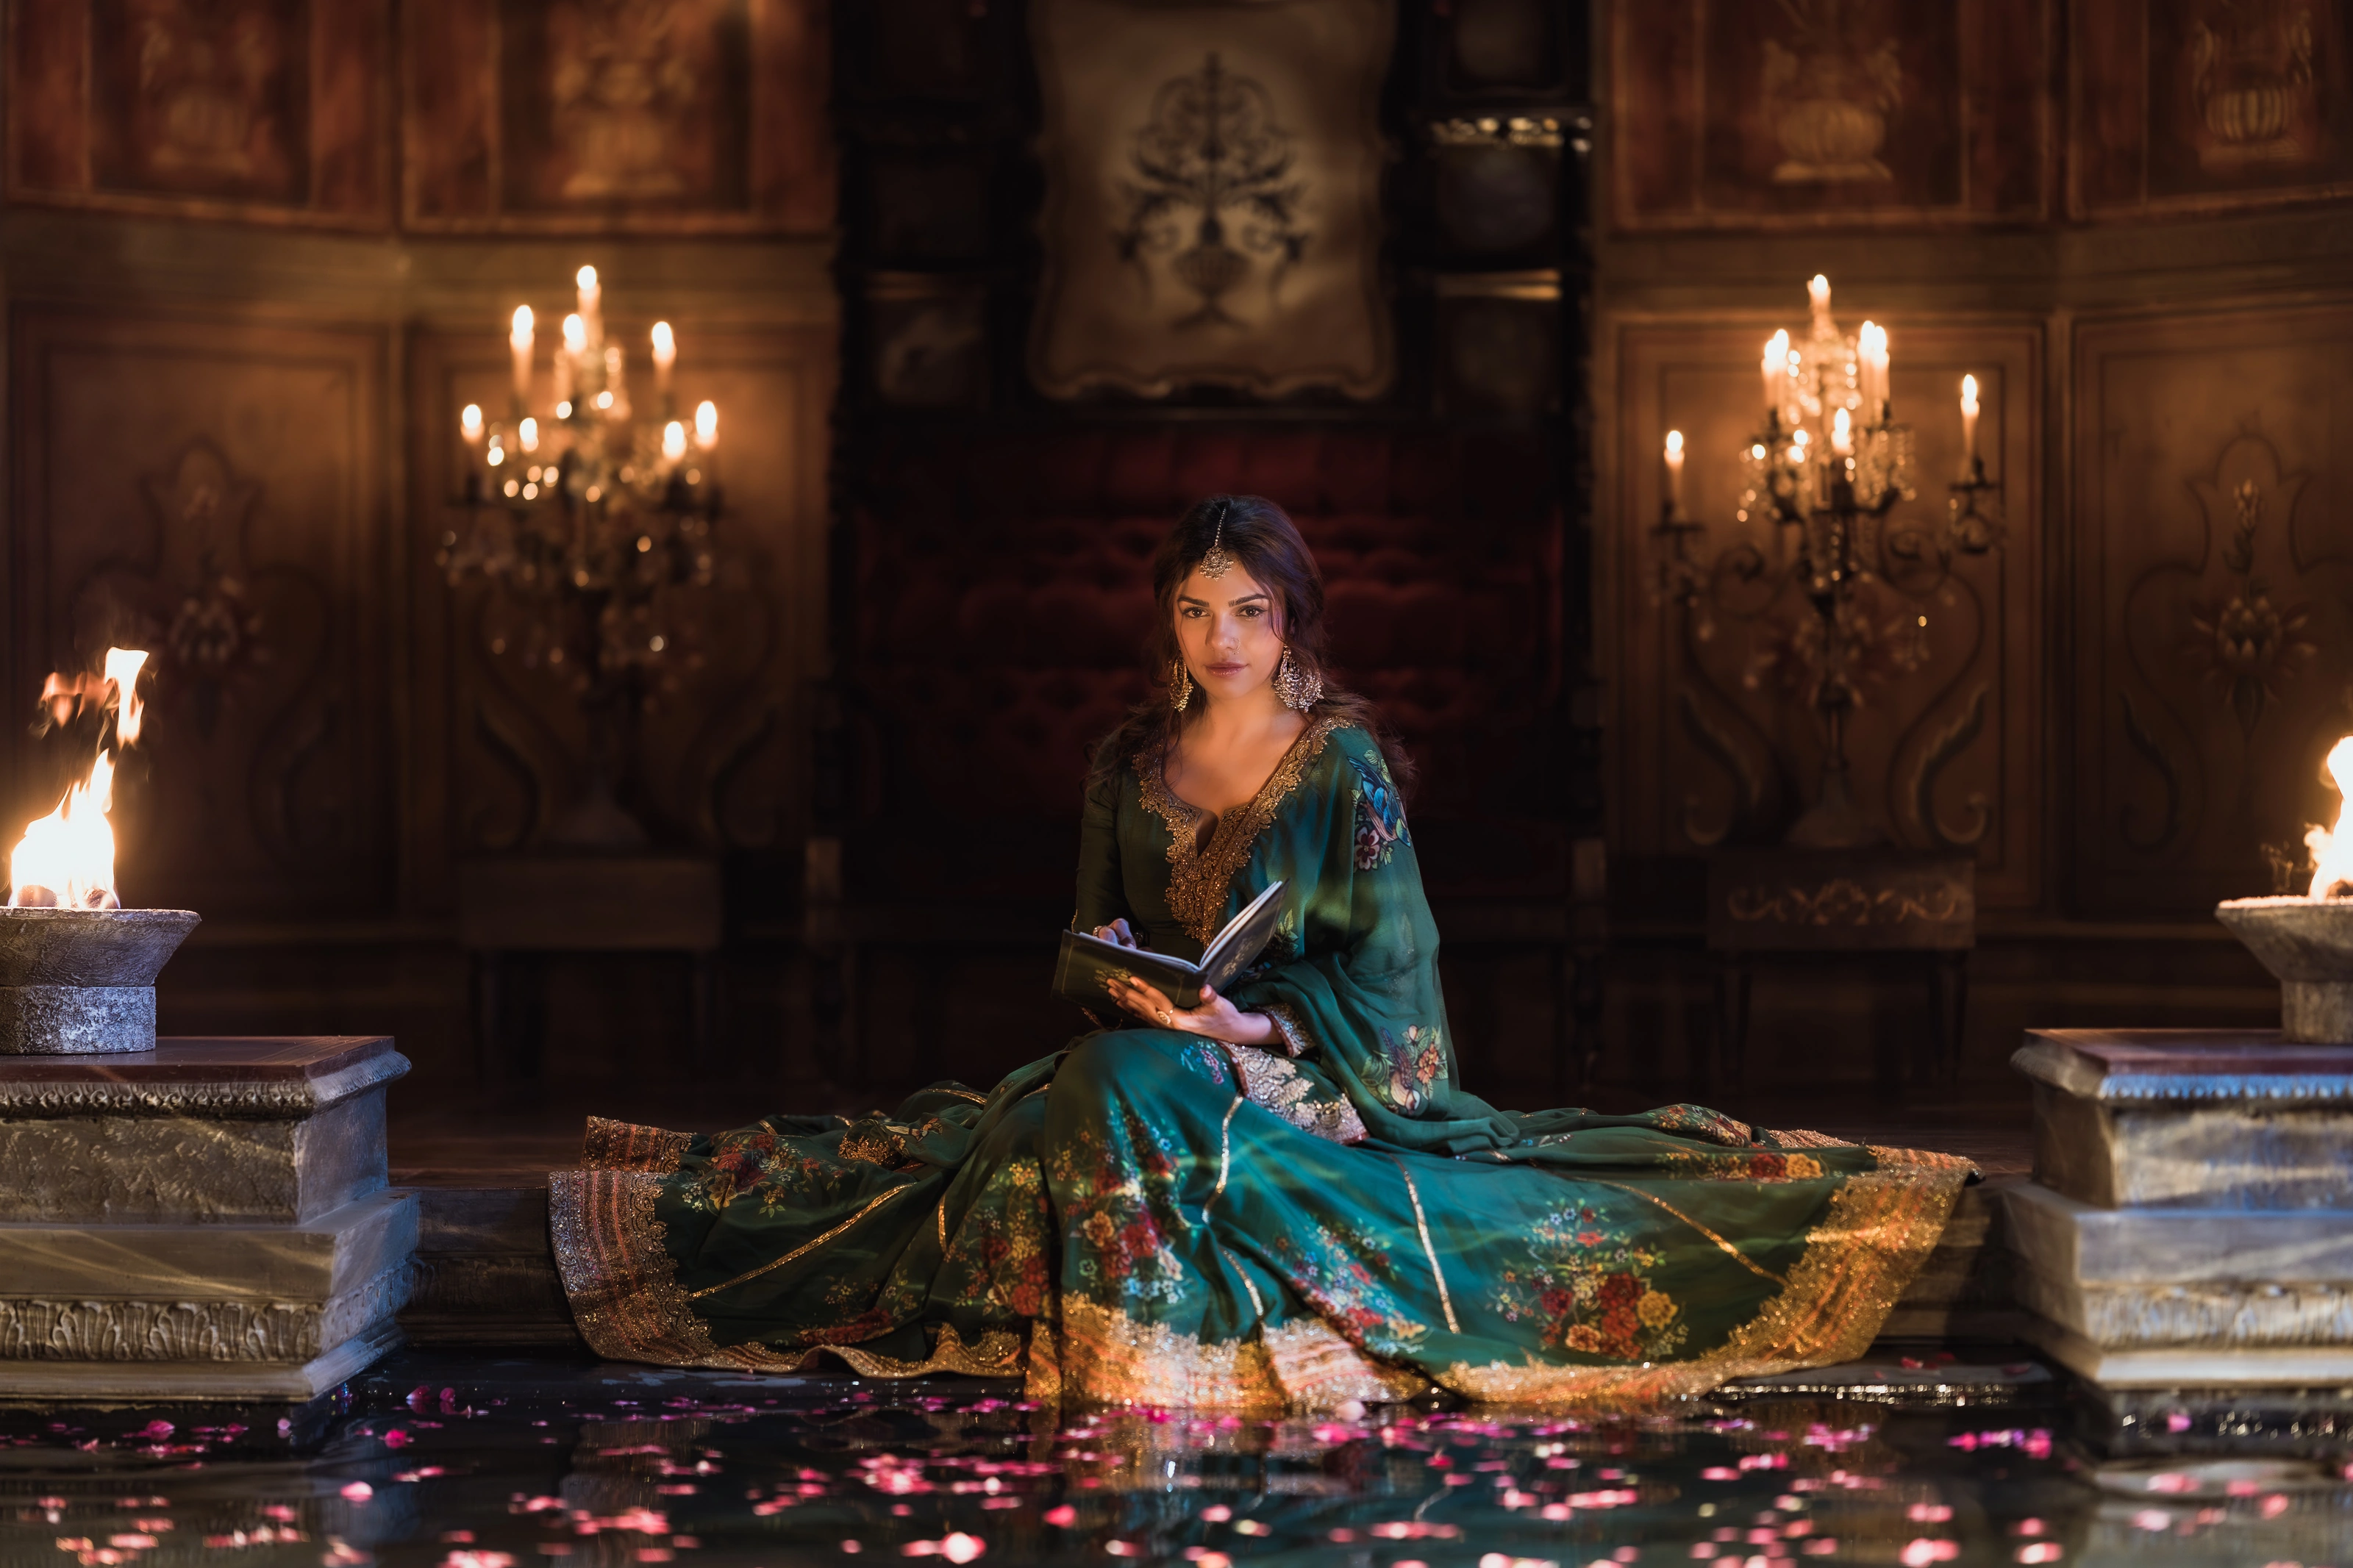
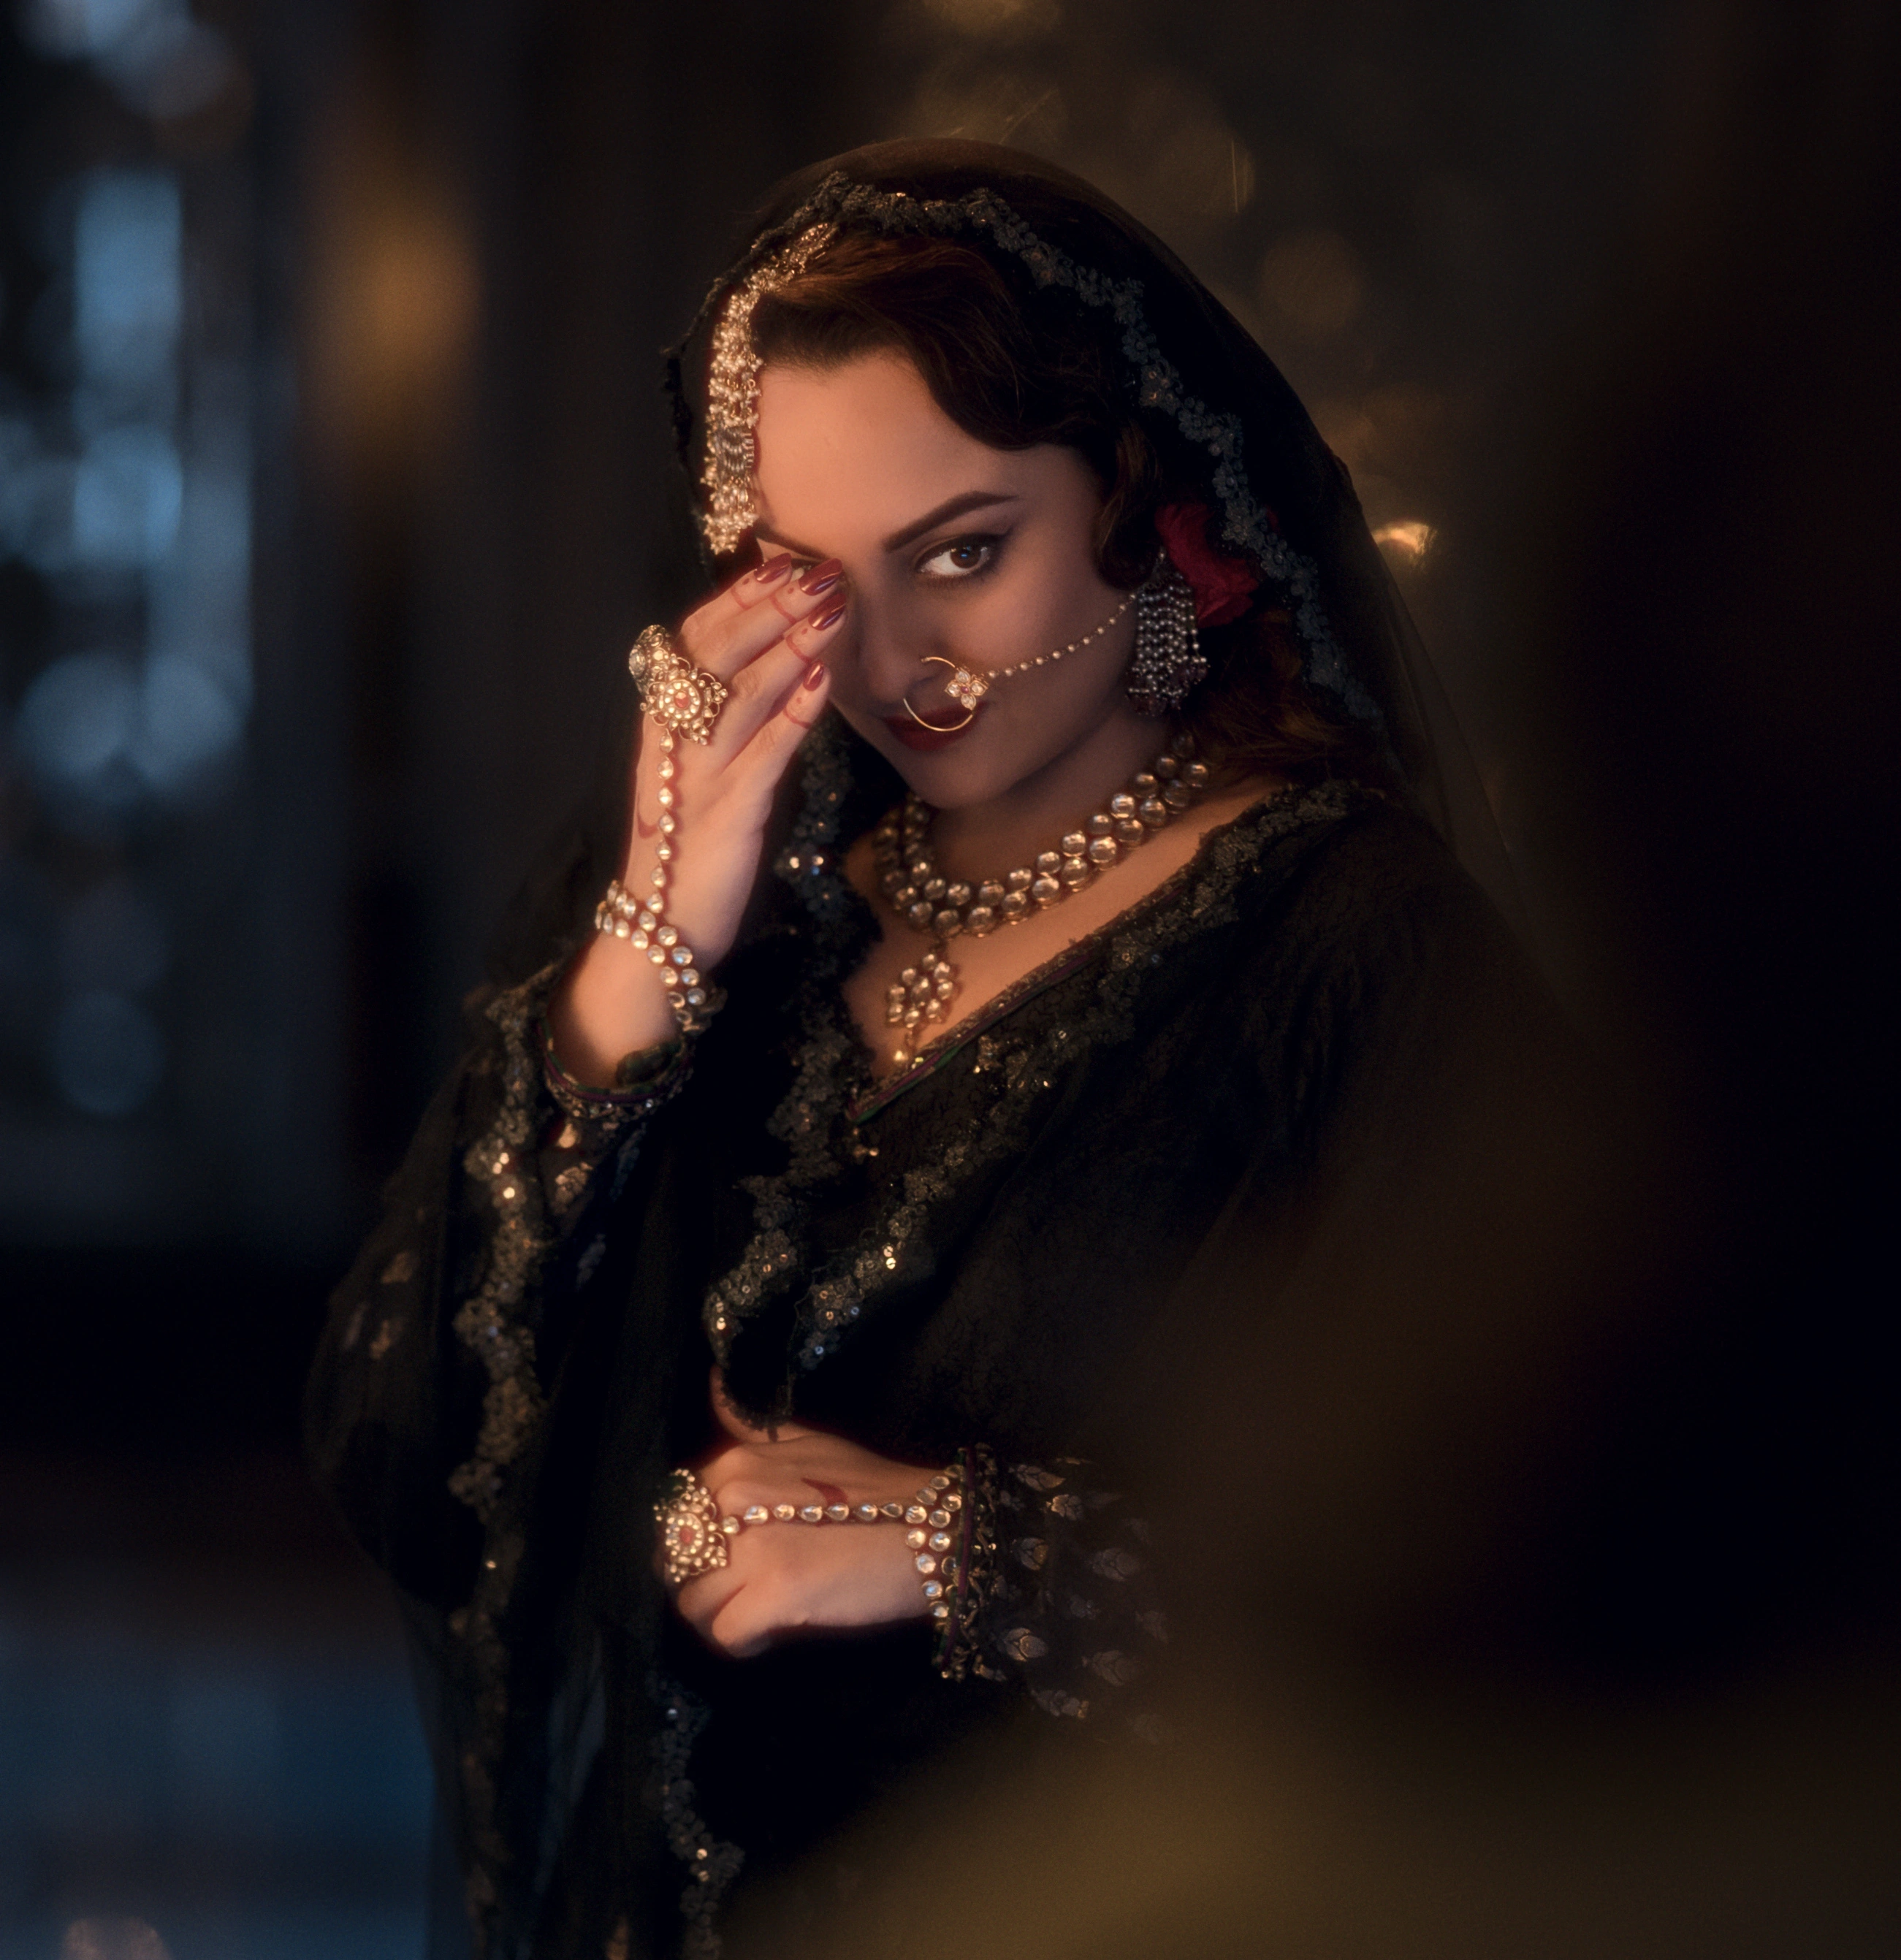
A wide frame establishes the relationship between a model and a location. A medium frame can show posture and the shape of the clothing. A close view reveals stitching, jewellery, texture or the way fabric catches light. These differences create an editing vocabulary. Five nearly identical shots leave fewer options than three genuinely distinct ones.
The wide photograph in this article makes the room and garment part of the same composition. The closer image below directs attention towards expression and detail. These photographs illustrate how changing the scale of a composition can guide attention. The same principle helps when planning moving images.
4. Direct actions the model can repeat.
Give the model an action rather than a vague instruction to be cinematic. Walking towards a window, turning at a mark, adjusting a cuff or letting a garment settle provides something specific to perform. Watch how the clothing behaves during that action. A movement that suits the mood may still hide the feature the client wants to show.
Rehearse the action with the camera before recording a series of takes. Start with a stable composition, then add a camera move only if it reveals something useful. Repeating the action from a second distance helps the editor connect shots. Keep the direction clear enough that the performance feels intentional without making every gesture rigid.
5. Check the light on fabric and skin.
Lighting needs to support both the person and the product. Inspect how dark fabric separates from the background, whether pale material keeps its texture and how reflective surfaces behave as the model turns. Review the movement itself rather than judging only a still pose. A reflection can change sharply within a single step.
Use a short test take to check exposure, colour and the consistency of the light. Match the camera settings between connected setups where possible. If a location changes quickly with daylight, organise the schedule around the shots that depend on it. Leave less time-sensitive details for a setup where the team has more control.
6. Build rhythm without hiding the clothes.
Make a first edit from the performance and strongest compositions before layering on effects. Look for relationships: a turn that continues across a cut, a colour repeated in the next scene, or a still moment after movement. Music can support those decisions, but cutting every shot to a beat can make the film feel predictable.
Give important garment details enough screen time to register. Match colour and contrast across the sequence, then review every requested crop. Check titles at phone size and listen for abrupt changes in the soundtrack. Keep the final review focused on the agreed mood, product visibility and deliverables so feedback leads to clear changes.
Fashion film questions, answered.
What makes a fashion film cinematic? A coherent relationship between light, framing, movement, performance and editing. A dramatic colour grade alone cannot give unrelated shots a clear visual idea.
Do you need a large crew? The crew should follow the complexity of the brief. Multiple looks, changing lighting setups, elaborate styling and several deliverables create different needs from a controlled single-look study. Build the schedule first, then identify the people needed to execute it well.
Can photography and film share a shoot day? Yes, when both are planned. Allocate time for each discipline, agree how lighting and framing will be shared, and protect the film’s complete actions. Treating video as an extra captured between photographs can leave the editor without enough connected coverage.